
Well now, here we at the beginning of my blog and at the end of the week and I’m thinking that I had better make a Mother’s Day card as it is on Sunday. Hmmm!
Love me, Make me!

Let’s start with some fabric scraps – I think I will go with pink as it’s one of mine and my mum’s fave colours – you could pick your mum’s favourite colour. Ditsy fabrics are best, you need a tiny print as you use such a small amount of fabric.

Then we need some wool for her hair (match your mama’s!) and some cotton buds for her arms and legs. If you don’t have cotton buds you could use whatever you do have in stock; string, wool, pipe cleaners or whatever – she’s your creation, use whatever makes you smile.

Now we need to make her dress. Cut a rectangle of fabric approx 9 x 7cms. Cut the top and bottom 9cm edges nice and straight so they fray evenly then fray them. Pull strands of thread from left to right (not on 7cm sides) – I tend to go to about 4mm. Then I pull at it and ‘scruff it up’ a bit as I want it to look a little vintage. Next, sew a tack line of stitches about 1cm from the top of her dress turning the sides under approx 3-4mm as you go. Gather her dress by pulling on the stitches when you have finished and do a double stitch to secure.
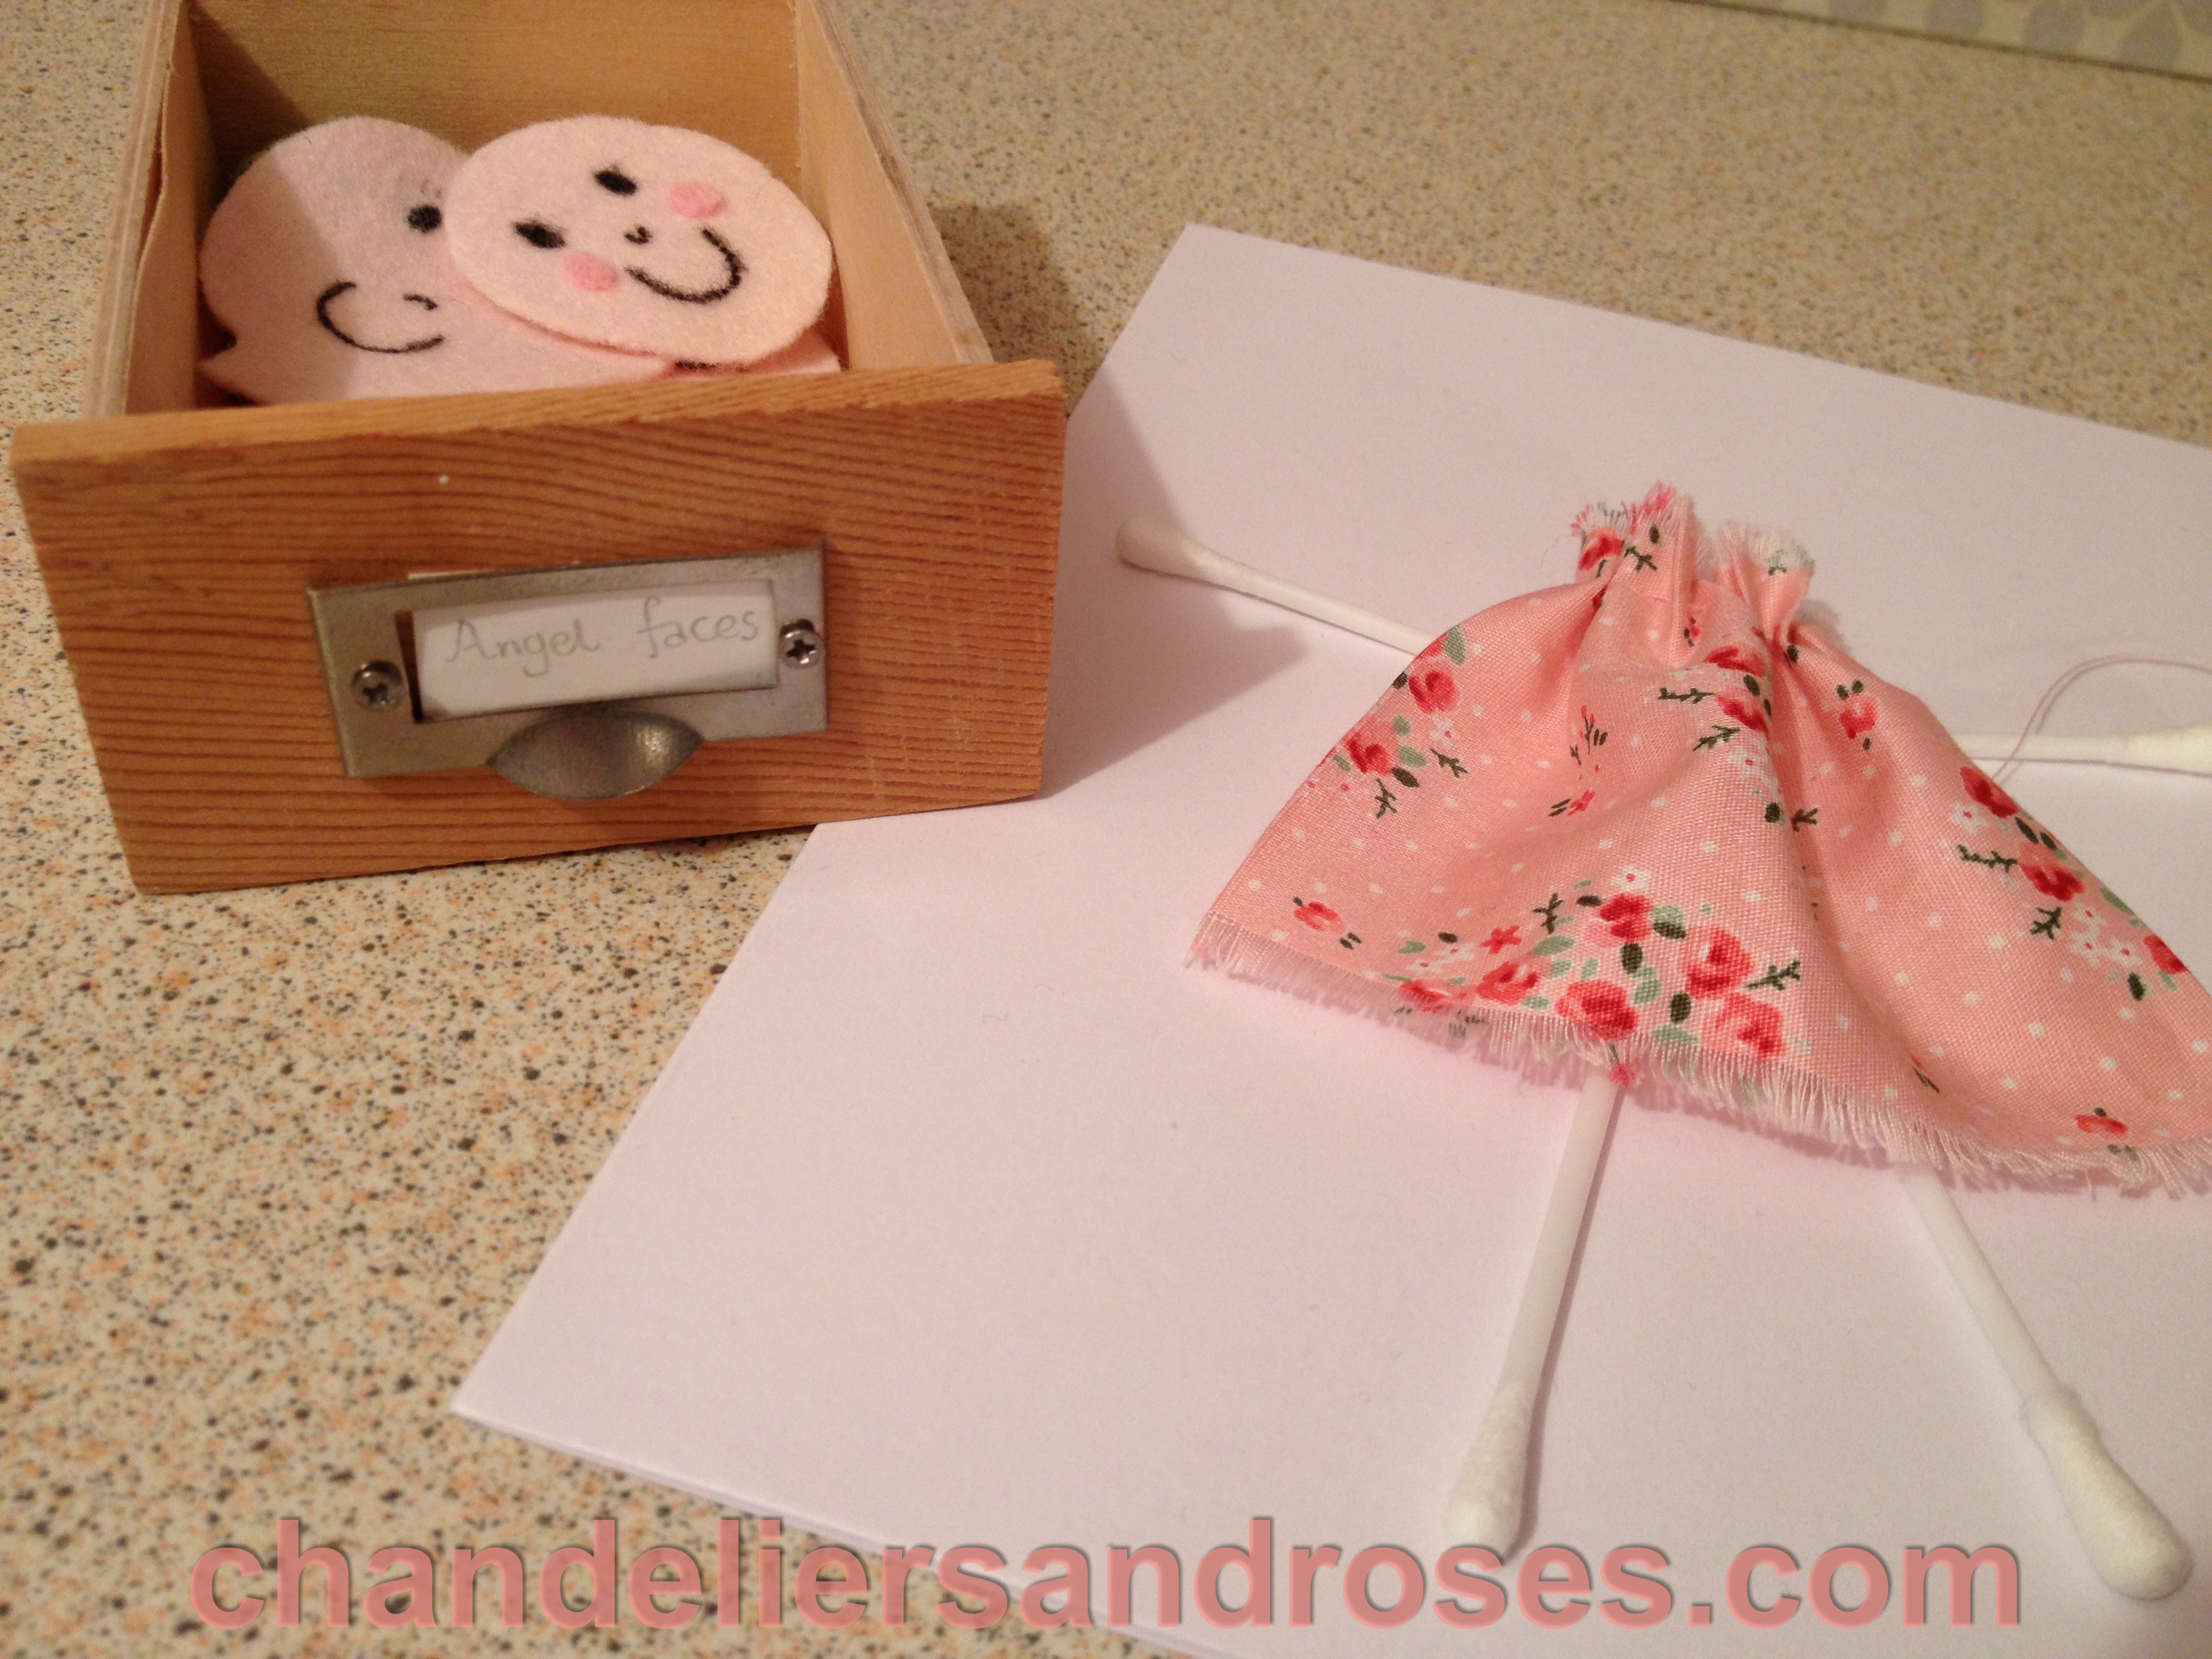
Now we have to bring her to life and make her face. The best fabric for this is flesh coloured felt but use whatever fabric you have or, if you are reading this ‘the night before’ and really don’t have anything you could paint directly onto your card (raiding your children’s paintbox if necessary) mixing your colour yourself. Believe me, your mum will absolutely love it no matter what, because YOU made it with such love.
Cut an oval shape from the felt approx an inch high and sew some tiny beads on for the eyes (black pen could suffice!). Next sew her a teeny, tiny nose from dark grey or black cotton by sewing 3 stitches into an upside down u shape. Now for her mouth, the hardest part. Using crimson or red cotton sew a little mouth by using tiny stitches into a big U shape. Don’t worry about being too perfect – the handmade look is part of the charm. Just take your time, be patient and draw a fine pencil line if you really need to.

See now – isn’t it exciting when you sew her little mouth and she starts to come alive! You’ve made her into a little person – I bet she’s adorable – you might want to name her at this point – it could be rude not too!!! Lastly her cheeks. I use pink felt for these and you will need some very sharp and small scissors – snips are best. Just cut some tiny circles for her cheeks.
We are almost ready for glueing but her arms and legs need some colour. Off to the paint department. Pick a colour to match her dress and hand paint her cotton bud arms and legs – you might need 2 coats as the plastic is slippery. Let these dry.

Now we are ready for glueing. Start by using a fabric glue to stick her cheeks on. Next, align everything up just to check proportions etc., – don’t forget to leave space at the top for your message. Firstly, glue the face down with fabric and paper glue. For the rest of the card, I use a glue gun as it is instant and I feel there is less chance of the card bending and warping but you certainly can use pva or a similar glue suitable for fabric and card. Glue her arms and legs down next – check the positioning of the dress first to ensure your glue does not show once the dress is placed on top – then glue her dress down by glueing along the neckline and carefully down the sides only – make sure the sides of her dress are turned under for neatness. Next, glue her hair on. Cut the wool to the length you want her hair and use approx 2/3 strands – again it is whatever looks right dependent on the thickness of the wool.

Finally, give her a little bow and a flower in her hair and omg, how adorable is she now – just look what you have done. I absolutely love my little fairy girl and don’t want to give her away, bet you don’t either!
Hope your mum loves her as much as you do!
Much love,
Sarah xxx
