
Baby Chandelier’s move from a cot to a bed was long overdue.

This was due to several reasons, the main one being her new little bed needed to be stripped, re-painted and a new unusual size mattress sourced.
The other reason, was that both Ruby Blue and I, adored her cot and were in no hurry, Ruby being my last child (dab eyes quickly), to pack the cot away for good – very sad face.
I originally purchased this bed for Master Chandelier, my son Benjamin, now a teenager and I originally hand painted it blue and stencilled little stars on it as his room, at that time, was done out in a gorgeous Laura Ashley fabric which had little boy’s in rockets flying to the moon, cute little aliens, moons and stars.
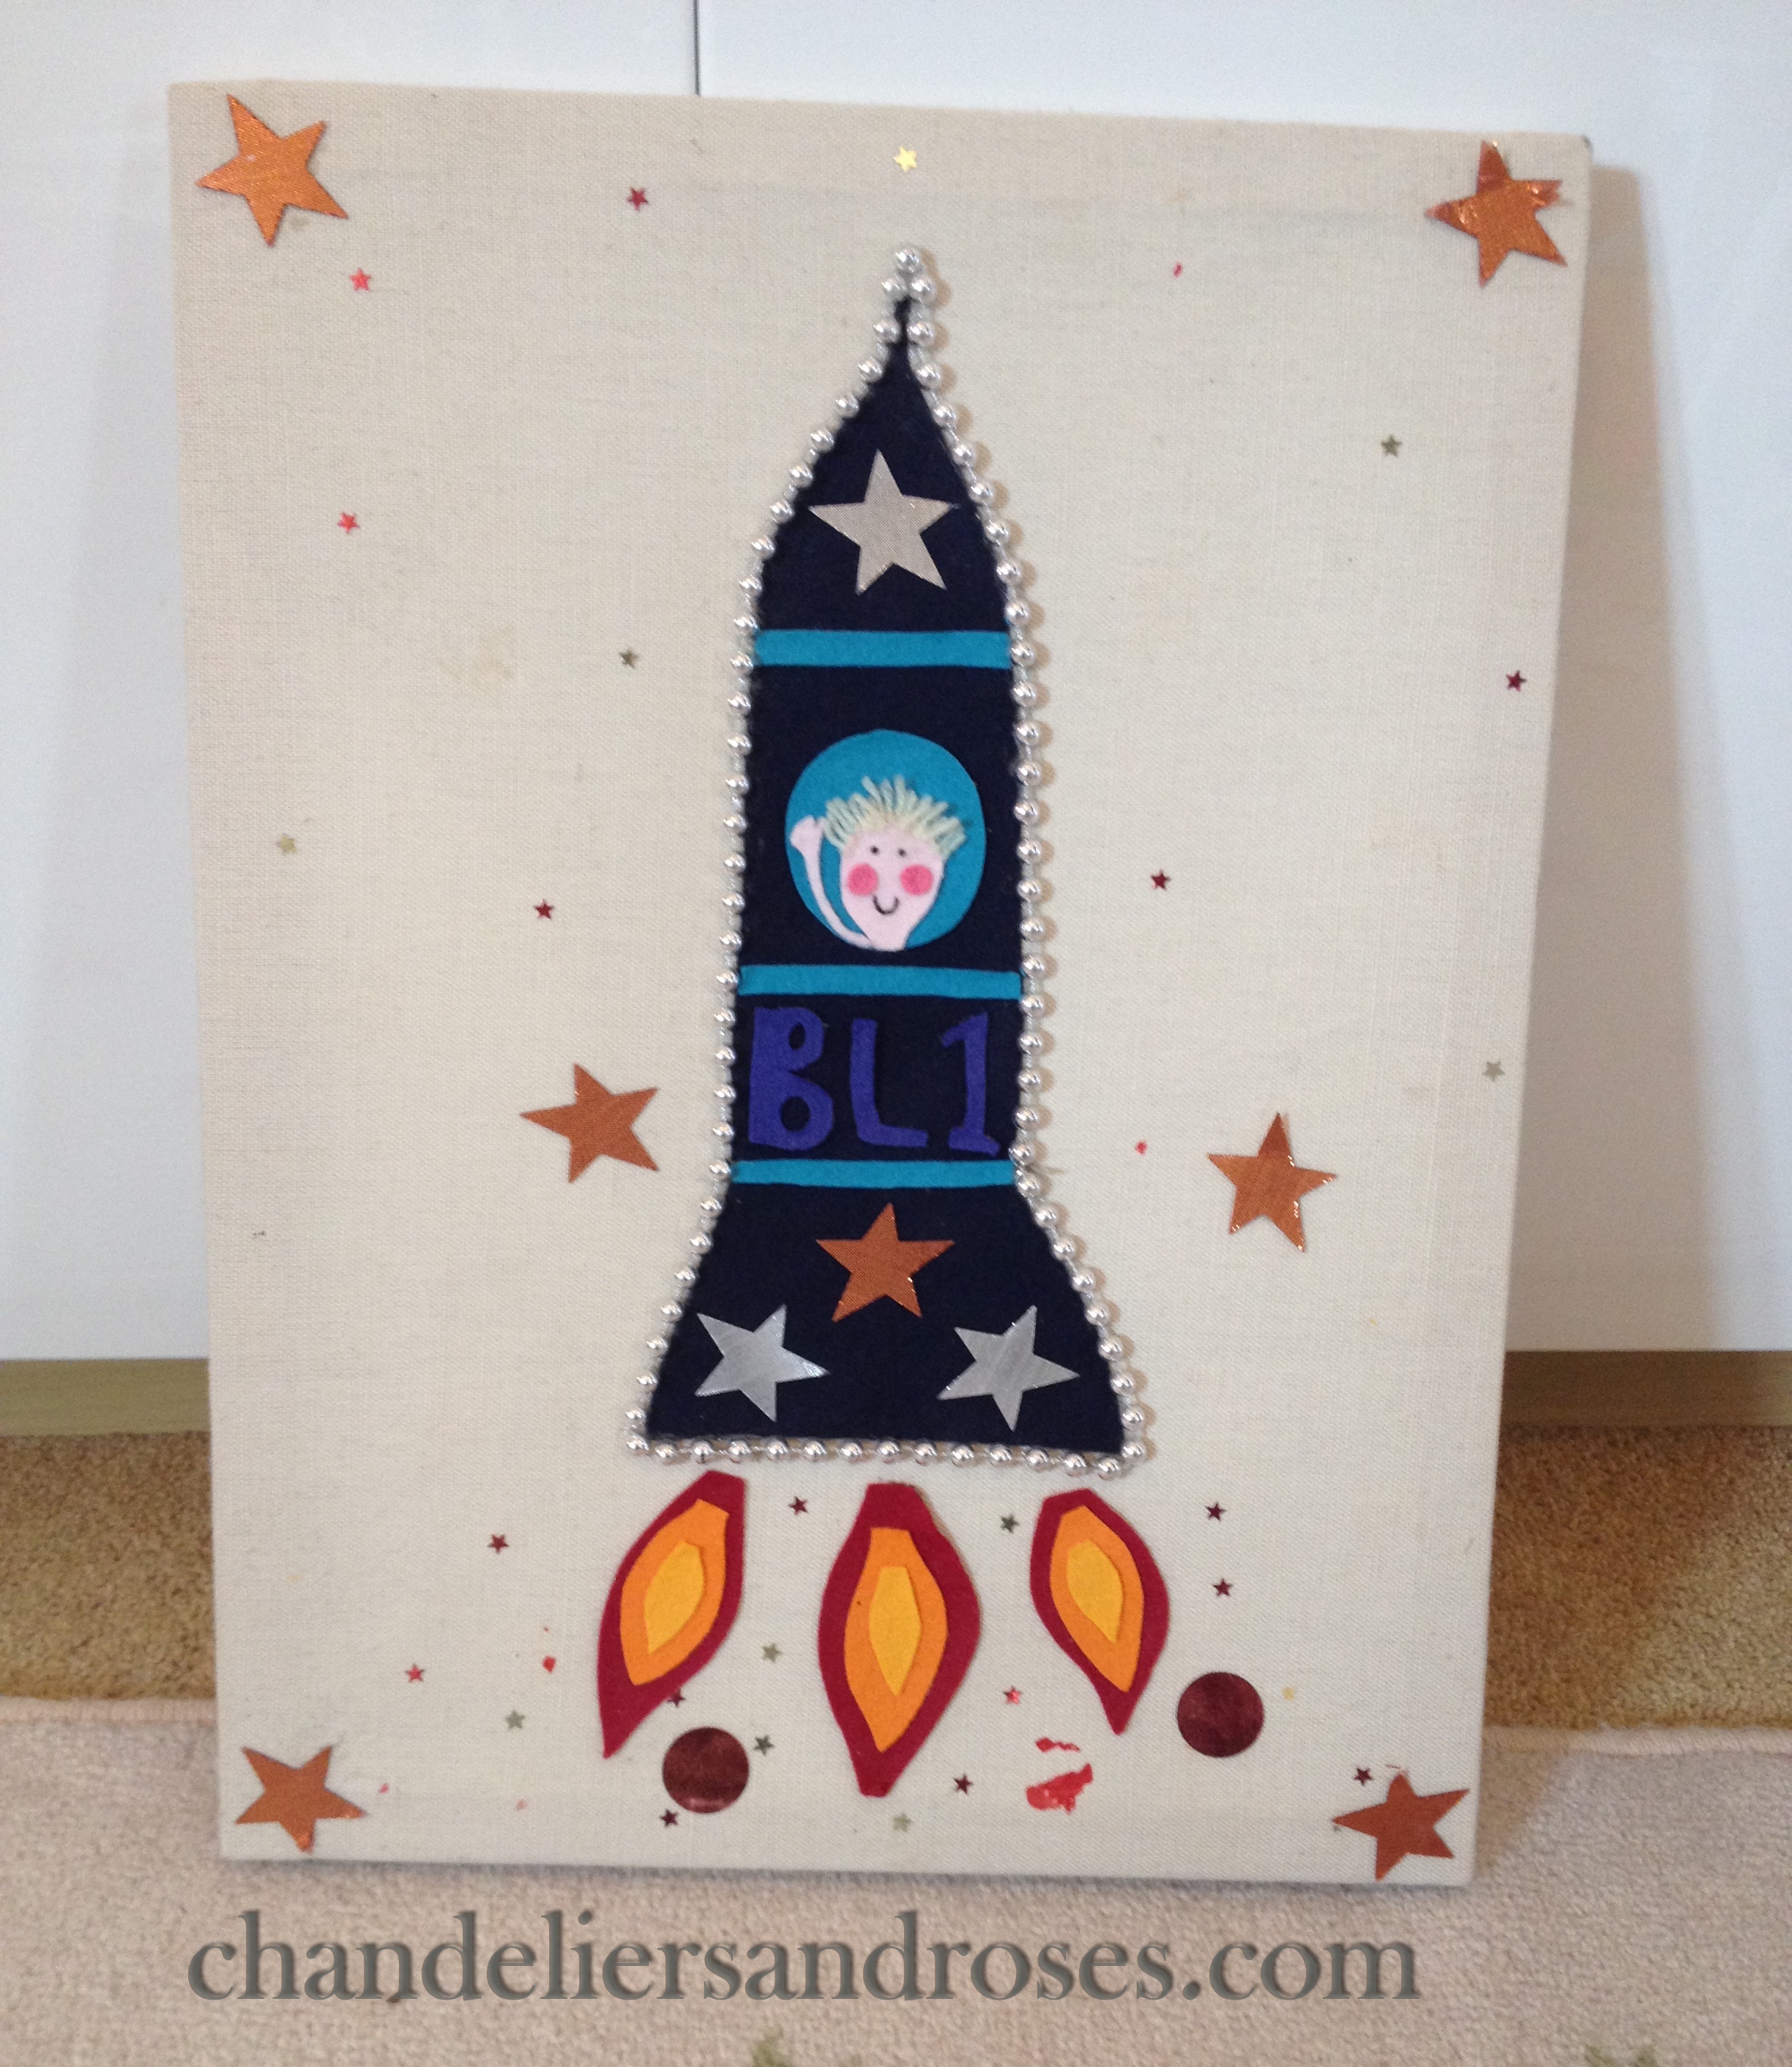
I made him this canvas wallhanging, now obviously looking a little worse for wear, to match one of the rockets in his bedding and the little boy was him and the BL1 stood for Ben and Lottie 1. He adored this, but having long outgrown it, I am sadly about to dismantle it and recycle it into something else.
Although I subsequently re-painted the bed white for Lottie, for Ruby’s room I wanted it to be distressed to match the other furniture I have painted for her so unfortunately, this meant having it stripped, as I couldn’t have the blue showing through when I distressed it.
Fortunately, I had painted it in oil based paints as knowing myself very well (obvs!), I knew I would probably repaint it in the future and having painted lots of furniture, knew very well that usually, oil based primer could be stripped, unlike a lot of acrylics.

There was quite a lot of preparation involved and the whole job was very laborious from start to finish.
The pine stripper did a great job, and after letting it dry in my summerhouse for a week or so, I painted it with white vinegar and then let that dry. This takes away the acid crystals that can appear after stripping furniture and is relatively quick to do.
I then gave it a light sand, catching a few small areas the stripping had missed and then finally painted two coats of white knotting compound onto the knots as, even though they are old, they could still ‘bleed through’.
Finally, it was ready to be painted – I was receiving comments from all the family at this point, wondering how much longer it was going to be in the kitchen! Little did they – or me – know it would take me many more weeks to complete, he he!
As I was painting the bed white – Farrow and Ball’s All White – I knew if it were ever to be repainted, there would be no problem over white, so I did it in F & B’s Acrylics. Also, nowadays, I very rarely use oils as they are no longer readily available and they are very bad for the environment. It took quite a lot to cover the knotting compound – even though it was ‘white’ – I think 2 coats of primer and then a really thin and light brush just over the knots.
I then painted two topcoats and let the paint cure before I started the messy job of distressing. I always tell my students that come on my paint and furniture distressing workshops, that this is where you have to be brave as, at this point in time, the piece you have just finished looks absolutely perfect. However, I am always so on a mission, and once I have made up my mind which way I am going with a piece, I just get on with it (although I’m not sure that Mr Chandelier would agree with this statement!).
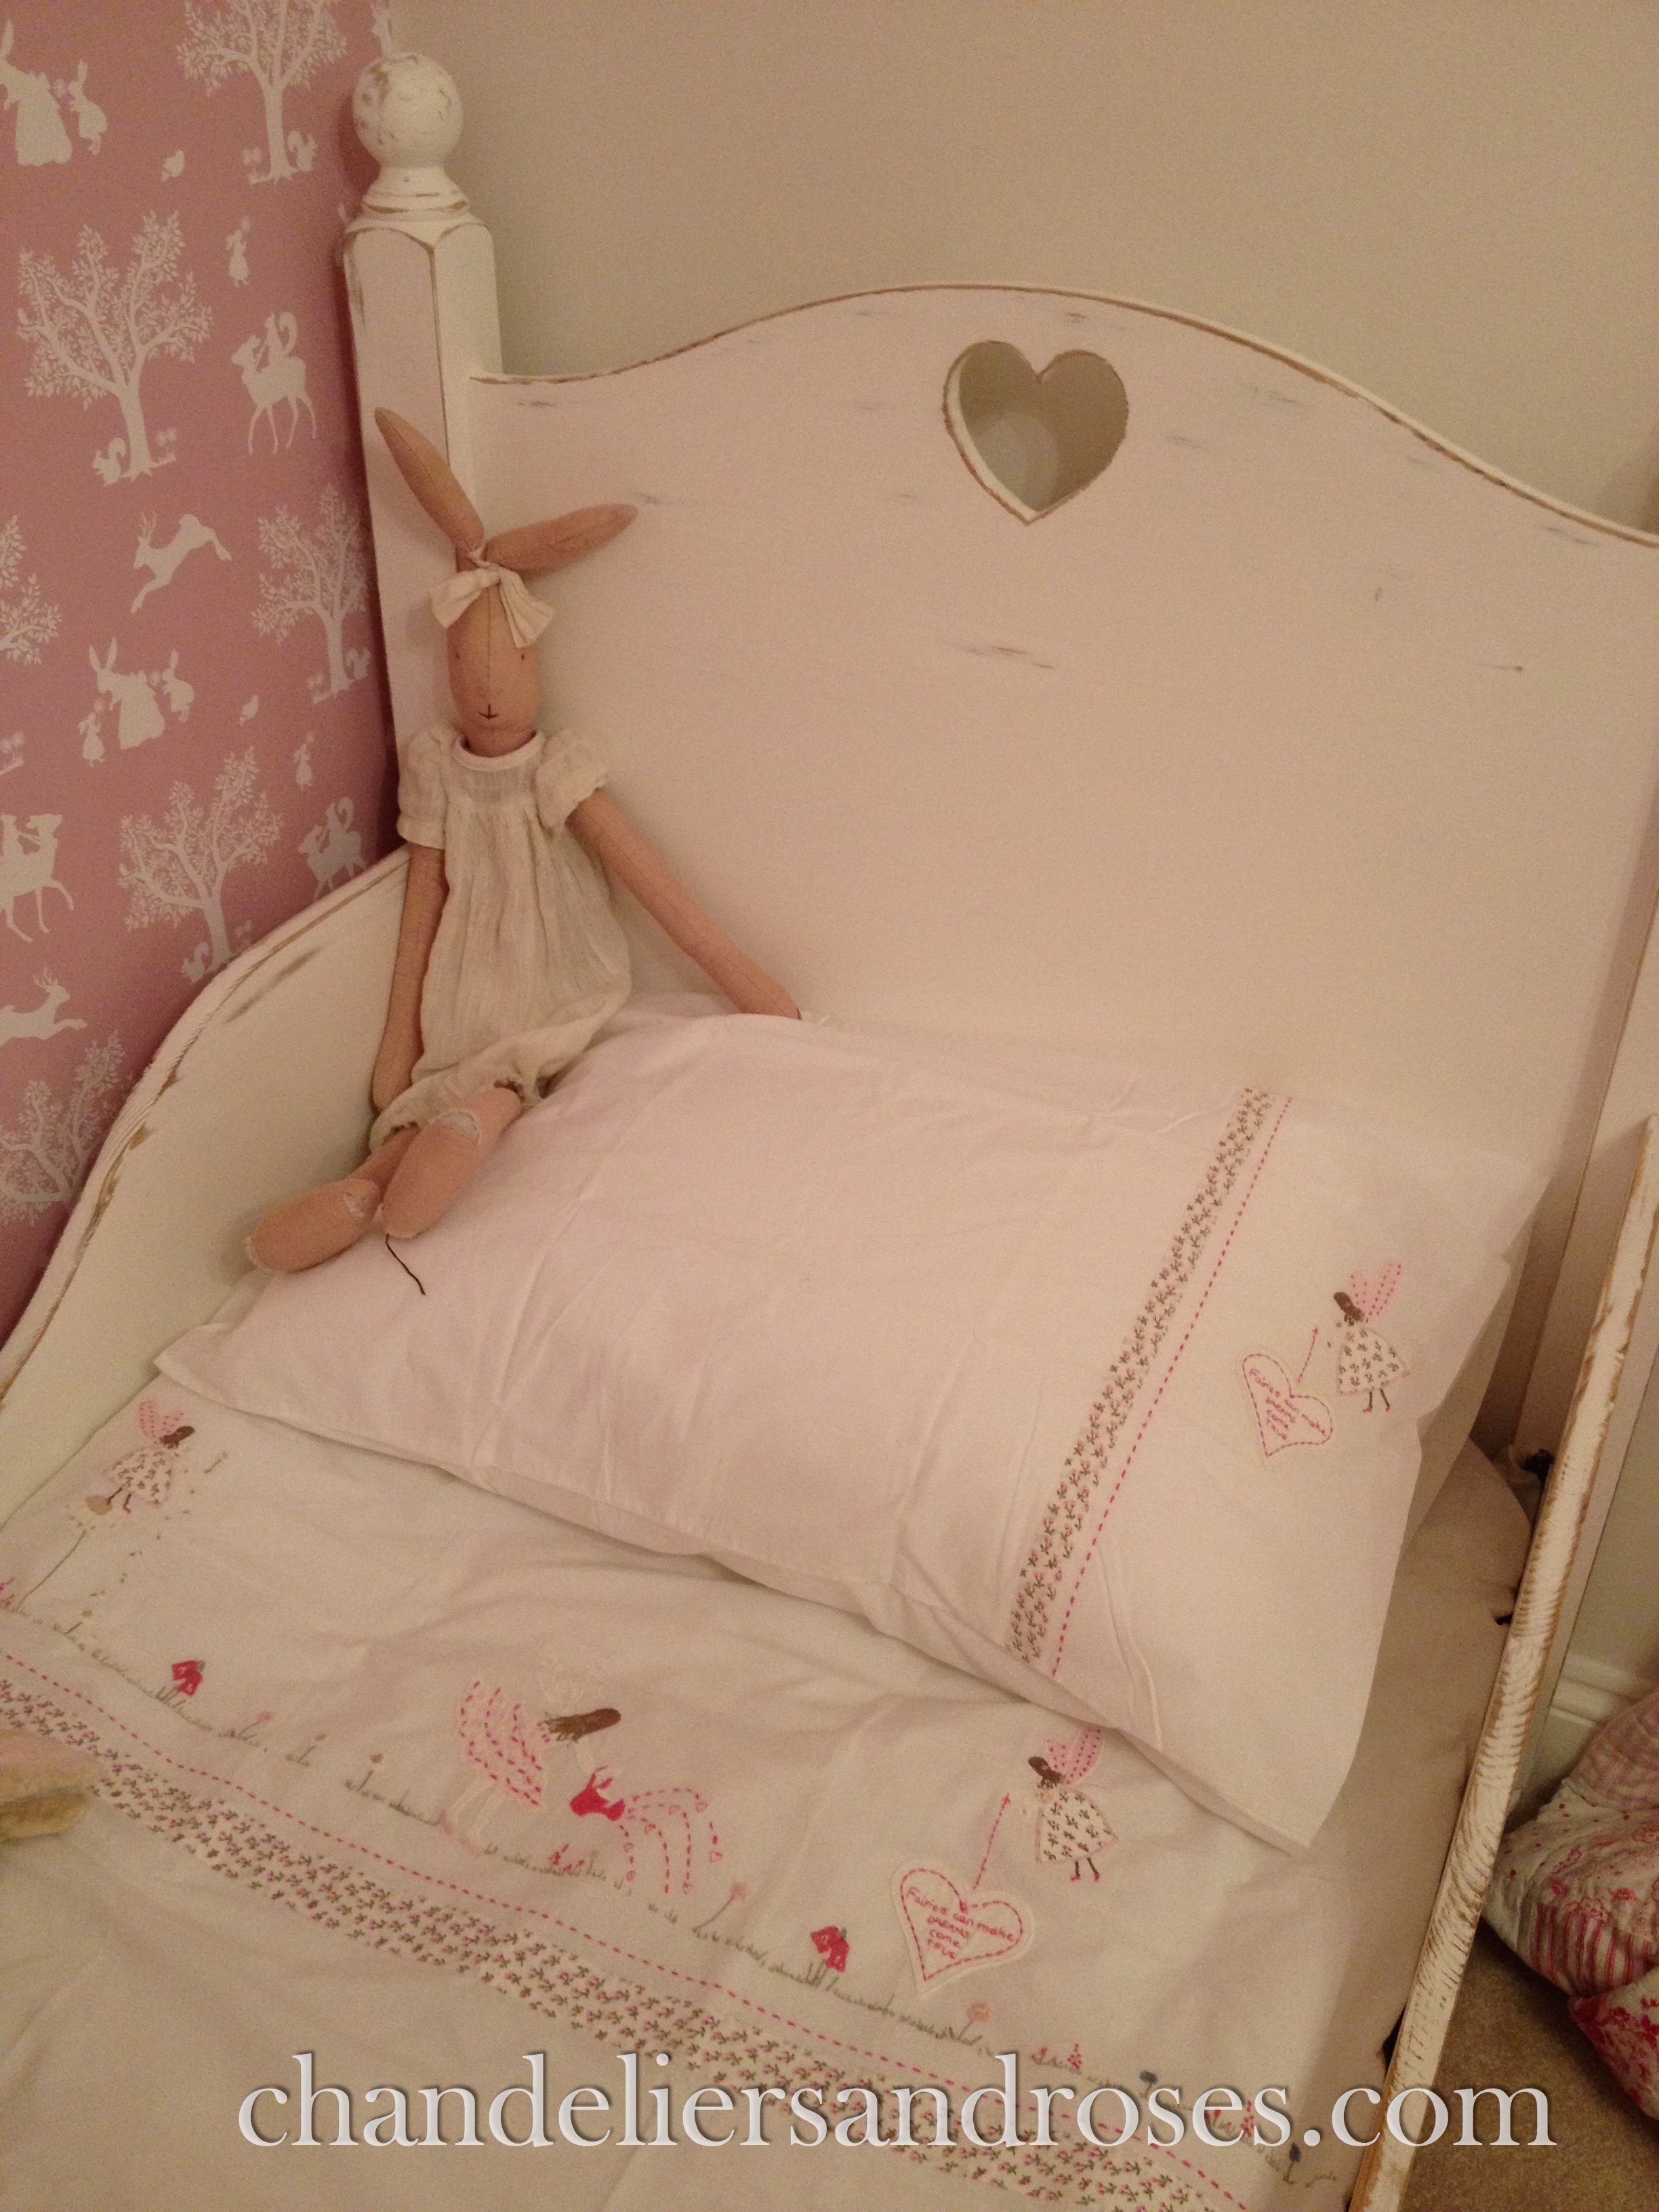
Finally, a dust off, a sad farewell to the cot bedding – our much loved, gorgeous Susie Watson quilt and bumper – will have to re-use this somehow – then up to Ruby’s bedroom to dress her bed with her new bedding, just a bit exciting!


I chose the White Company’s ‘Fairies’ hand embroidered bed linen as her wallpaper is a strong pink and pink bedding would have been too much and Ruby and I both adored it. It also has a 200 thread count and is amazing quality and so very soft. I have always bought all my children nightwear from the White Company and although it can be expensive, (check out their sales) it just washes and washes beautifully every time and as I recycle a lot of my children’s clothing, this is even more important. It was also reduced a little, as it is now discontinued and it was literally the very last one in the whole company, which does of course make it even lovelier! We all love her new bed so very much, particularly Ruby, and I am delighted with how it turned out. As always, it is eventually worth the all the many hours of painting, sanding and hard work that was put into it and it will be several years before she will be ready for the next size up!


There is just one small, teensy problem – nothing too serious – because the bed is slightly larger than the cot was, it has thrown all the other furniture into slight disarray so I now need to re-arrange the whole room, possibly replace the odd chest of drawers or table? It also looks a tad bare over her bed and Ruby misses her cot canopy as I had lovely things hanging on it for her to see – I sense at least a little shelf creeping in and my imagination is seeing some sort of tree branches above her bed with hanging, twirling fairies and maybe a woodland garland… Hmmm – definitely a strong case for some magic and sparkle! I also need a bedside cabinet and I know just the perfect piece, loitering in my summerhouse – Hmmm, job for another long day, (or many long days!) I think.
Much Love,
Sarah xxx
N.B. No ‘Lambie’s’ were hurt during the laundry process and he is definitely not being packed away – just so you know!
