
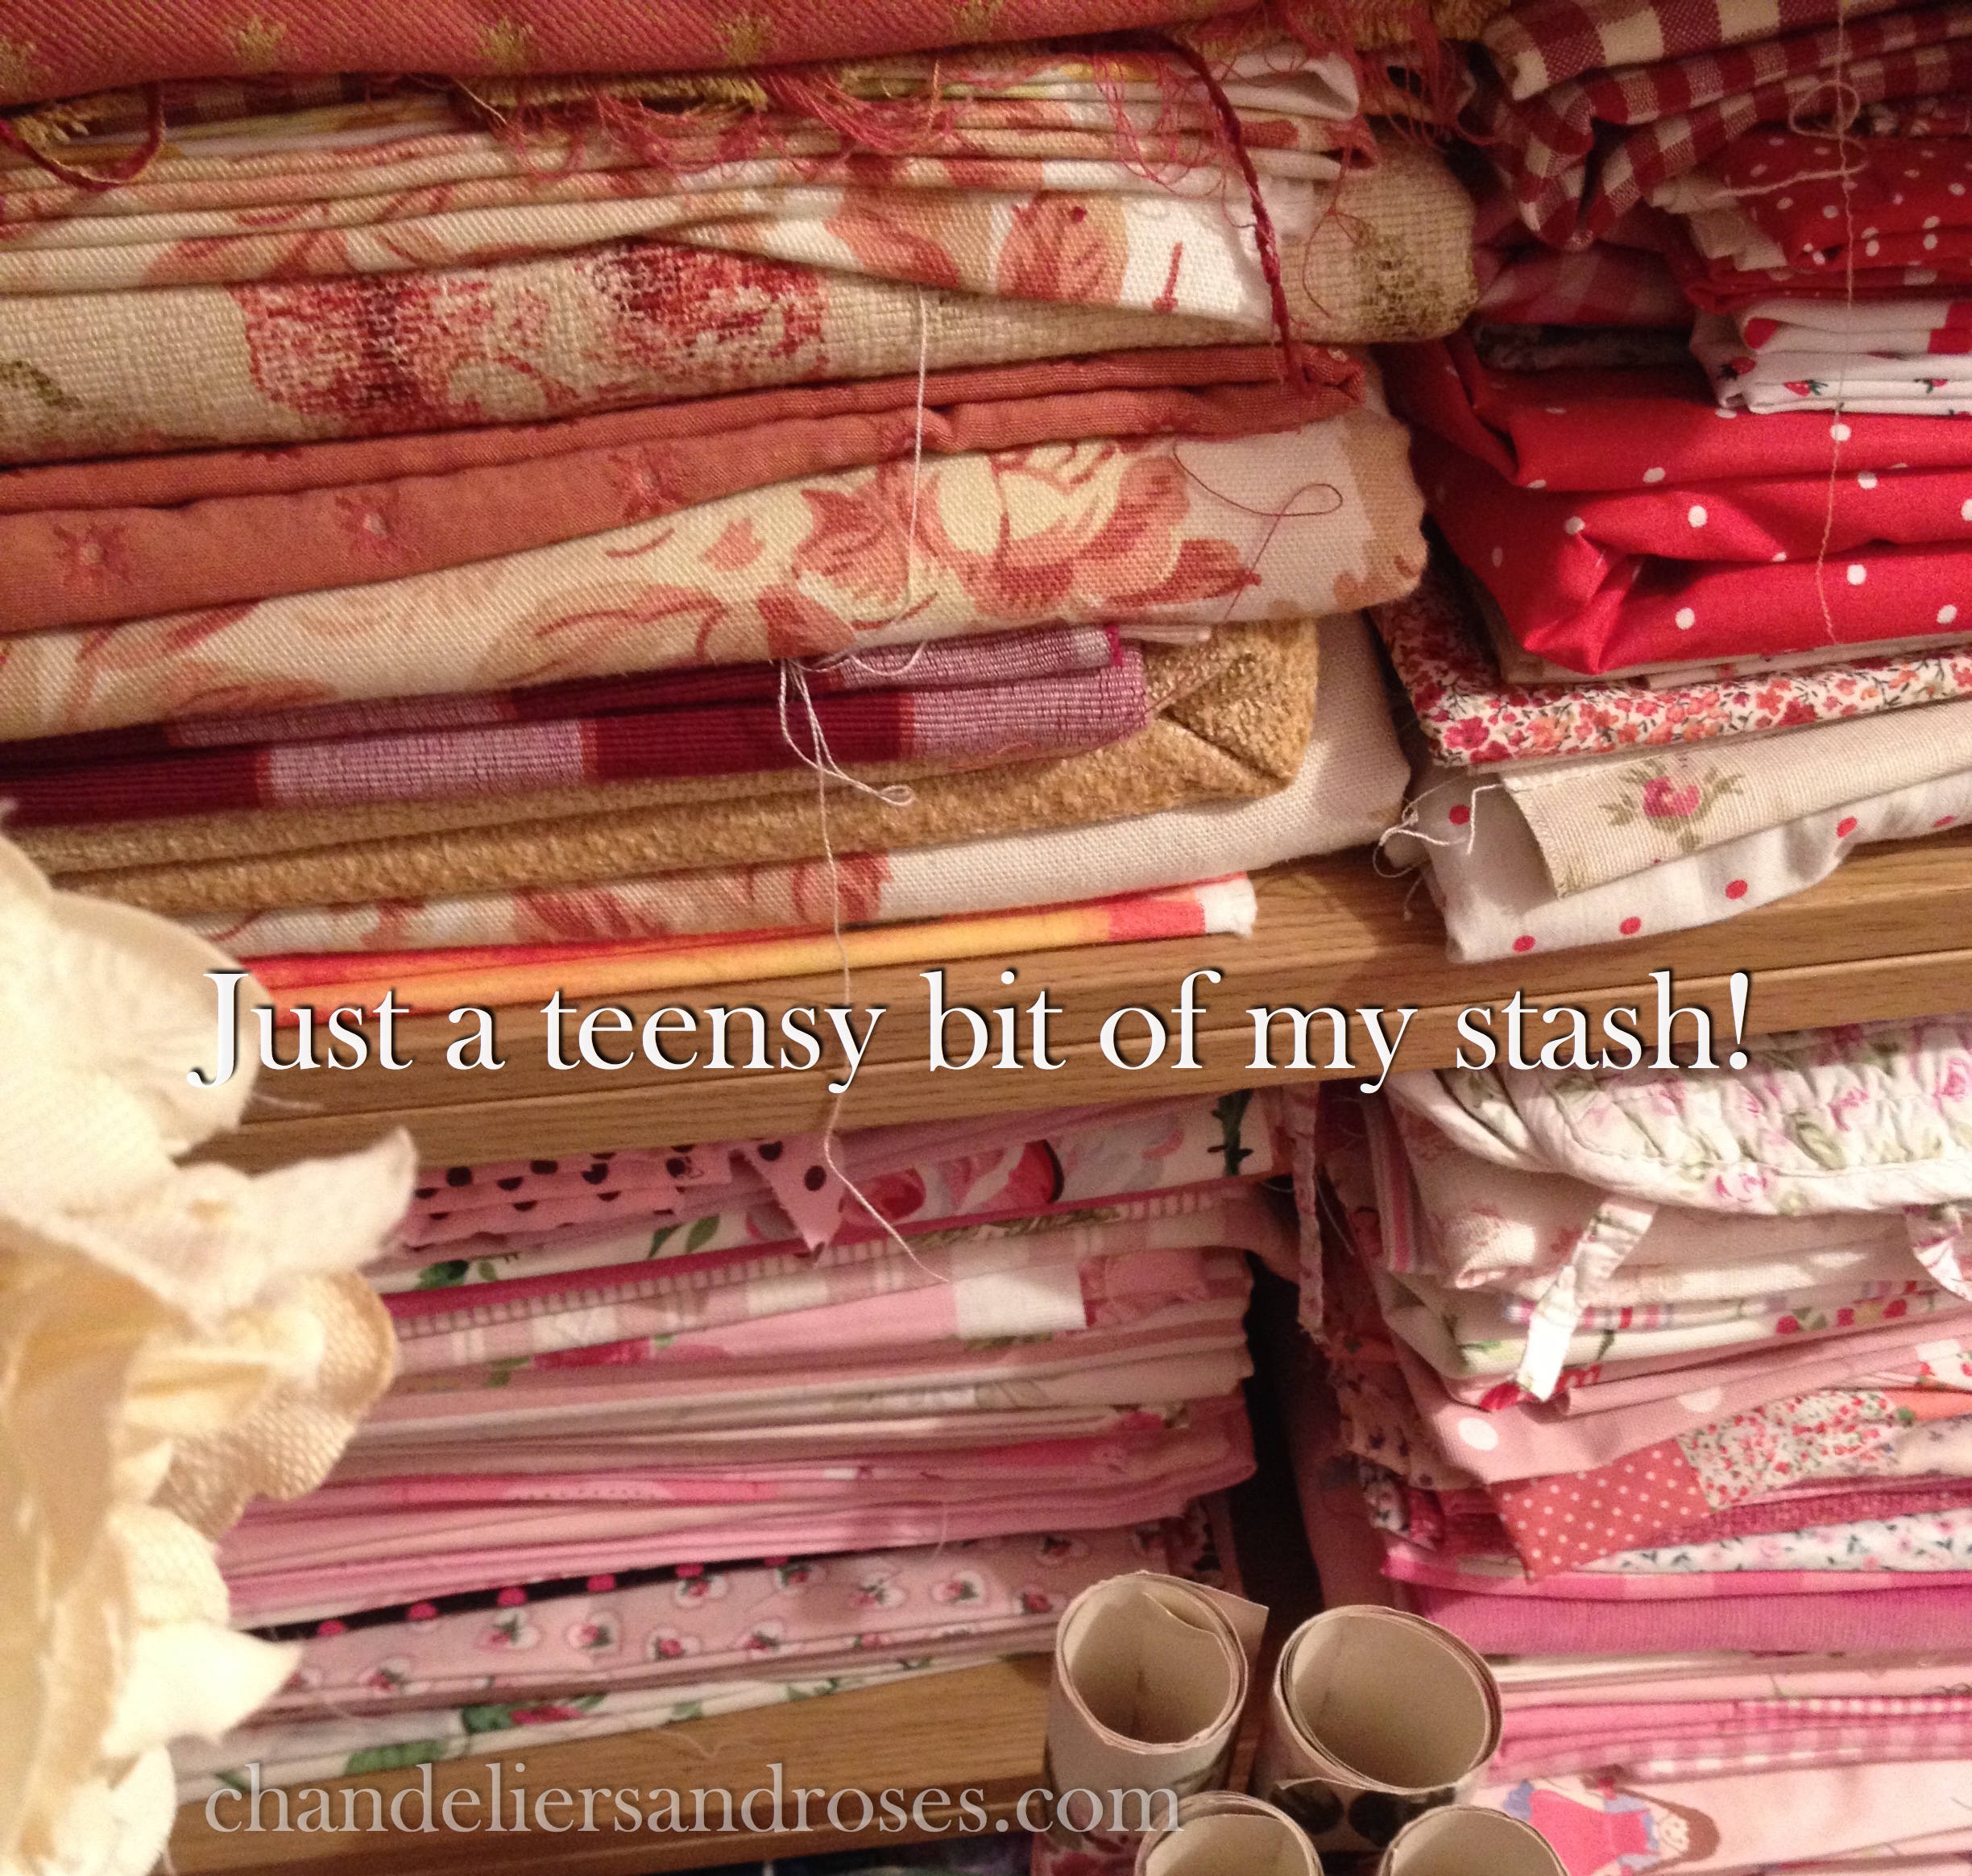
I have been buying fabric since I was 6 years old and it would be fair to say that I have a very large collection of most types of fabric, in vastly different sized pieces and in many different patterns and colourways.
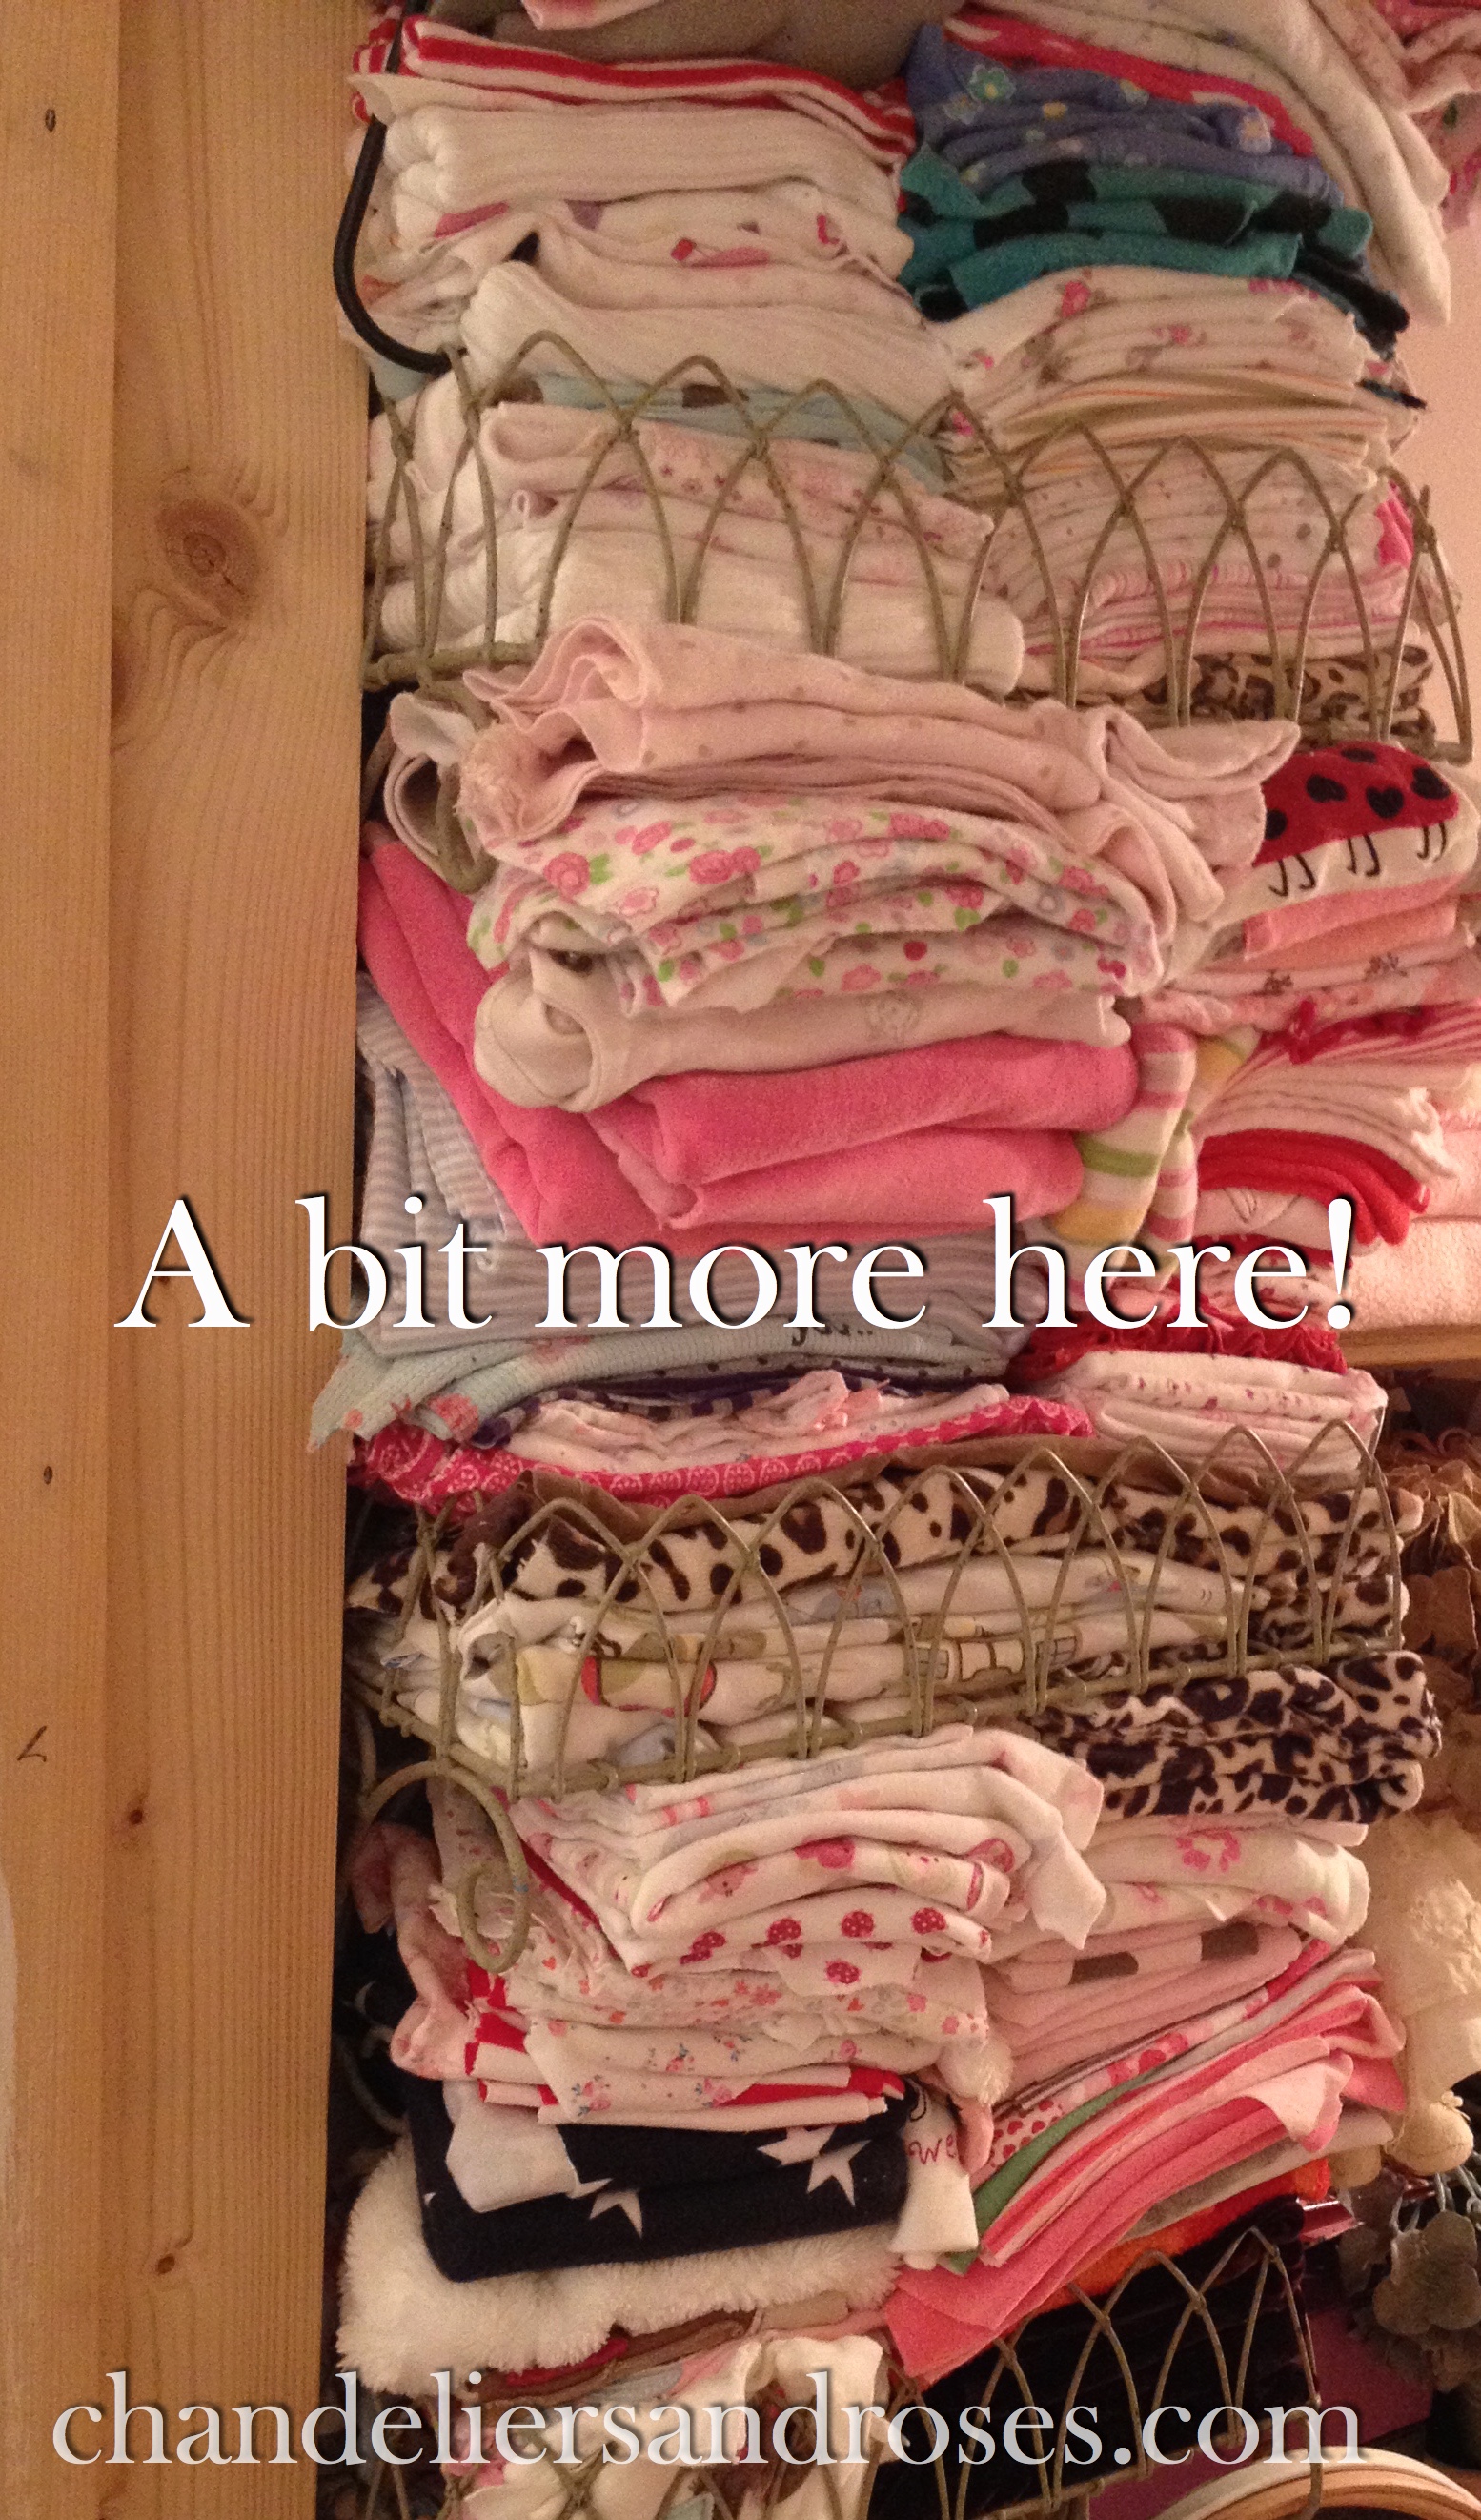
Over the years I have tried numerous different methods of storing it, usually with limited space. My first ever solution – when it was tiny – was a basket. Obviously, I very quickly outgrew ‘the basket’ and from thereon in, I always stored the majority of it on shelving of one kind or another. The exception being my ‘scraps’ which, as they are so frequently used, have their own baskets which are broken down into colours.
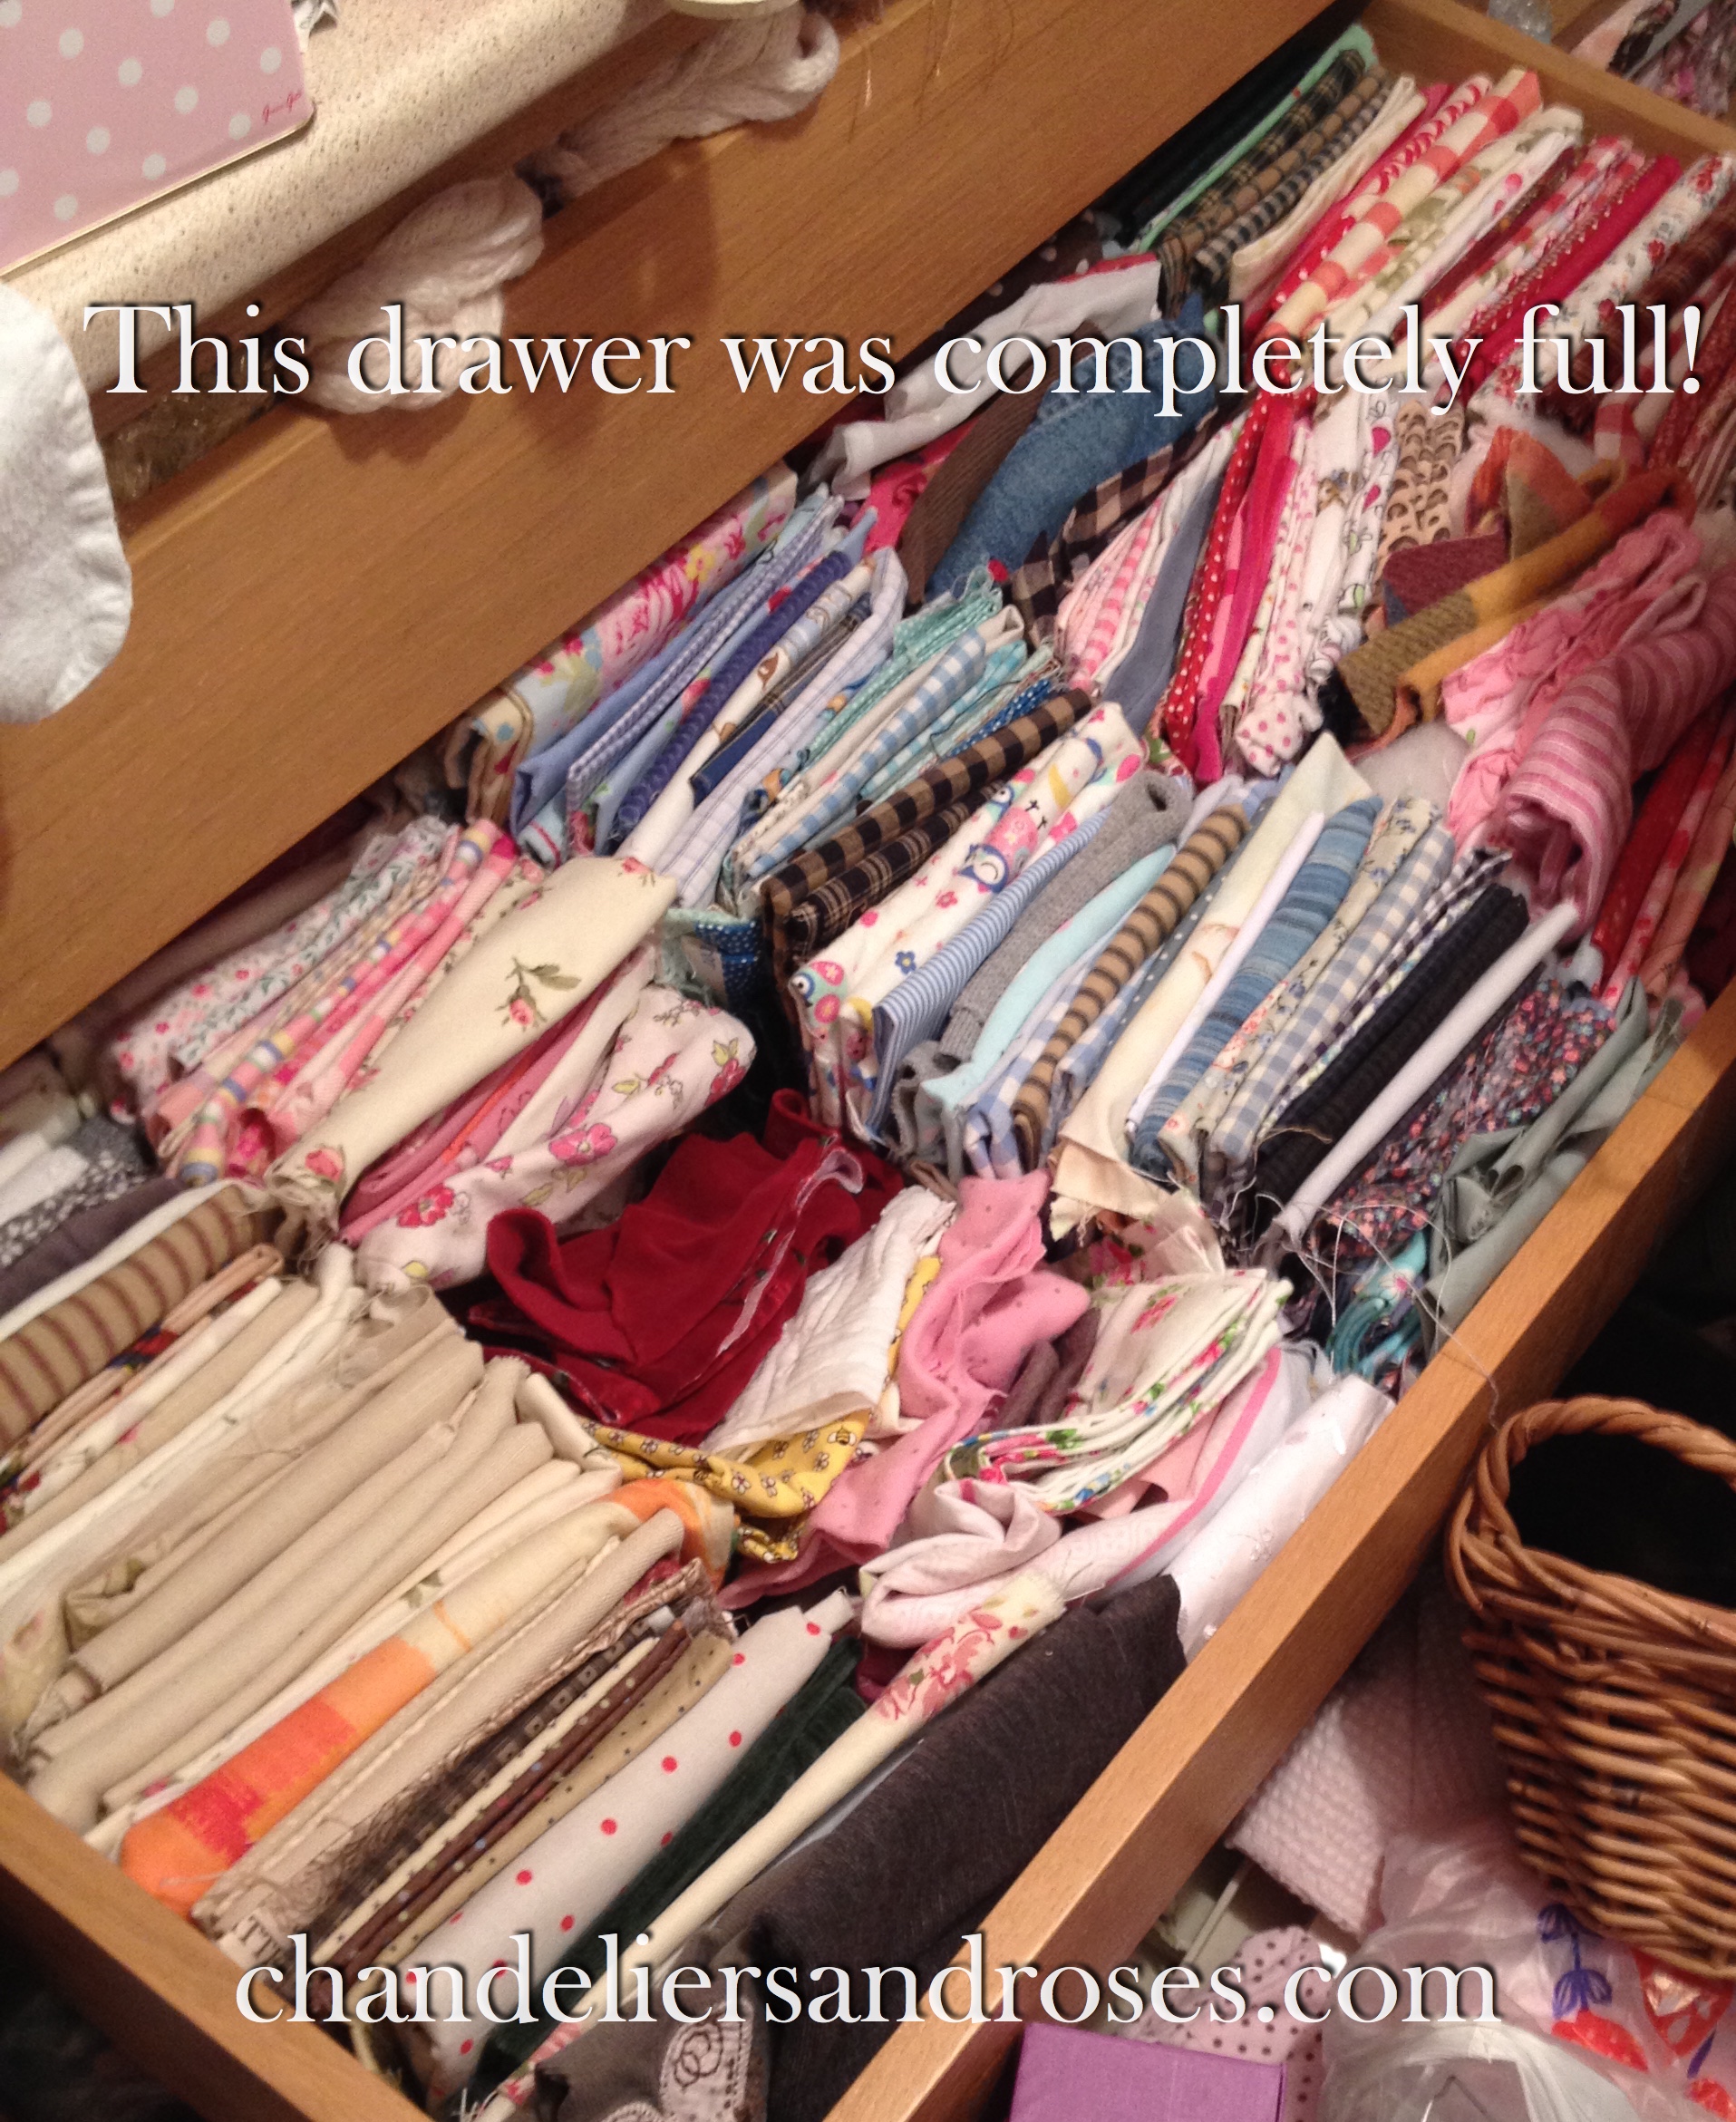
As at a few weeks ago, I had fabric rammed into what seemed like every corner of my studio. It was mostly on various different shelves, although I had quite a bit in a large drawer, some in storage tubs, some in my ‘fabric filing tray’ quite a bit on the floor – actually quite a lot on the floor – and even some new fabric in bags both inside and outside my studio (naughty!)
With all this ‘fabric chaos’, a considerable amount of ‘tripping over’ and a constant ‘fabric avalanche’ each time I tried to make something, I had a bit of a ‘fabric meltdown‘.
Although It was all (mostly) colour coded and all fabric such as felt, tulle, organza, ‘shimmeries’, etc. had their own departments, there was certainly order, but I couldn’t really see properly what I had, let alone access it in a hurry. The reason for this was simple. The problem with shelves is that whilst they are fine for large pieces of fabric, e.g. 4 or 5 metre pieces, when it is sorted by colour – which is how I work – you do tend to have lots of different sized pieces and this generates pyramid-shaped piles. When space is an issue, one tends to slot more fabric into the gaps. Fabric is heavy, particularly large pieces and with the best will in the world, it’s just not feasible to put it back exactly how it came out, especially if it is at the bottom of the pile. I had also run out of space.
Something had to change. I had been mulling over this problem for some time and had come to the conclusion that my ideal would be to put all the fabric into drawers as it is a lot easier to access, you can see exactly what you have and drawers can cope more readily with varying sizes. I have also so outgrown my little ‘Narnia’ studio and would ideally like to store the fabric somewhere else – but where? The house was already bursting at the seams and I really, really had nowhere else for it to go other than my bedroom. So it was with great reluctance, that I finally accepted that I would have to give up a bit of bedroom space and add another single wardrobe to my run of units, which I could then dedicate to my ‘stash’.

I so did not want to lose this sweet little corner, even though the chair is normally covered in clothes!
We bought the original units from Ikea as they are fantastic for internal storage within their wardrobes and have drawers and pull out jewellery trays and loads of other fab add-ons you can buy. Originally, we had the intention of making our own wooden doors for them however, 5 years ago, after 2 years of living here and realising that the majority of the house was considerably higher priority and I would probably wait another 5 years at least for my doors, I decided that I would buy some rather nice high gloss ones from Ikea and add my own crystal handles as I really do love and look after my clothes and I didn’t want to wait any longer.
Unfortunately, they no longer do the internal colour units that we have already so good old Ebay came to the rescue. I also needed at least 7 drawers to match so bided my time until exactly what I wanted came up. The door was wrong but it didn’t matter as they were still available to buy. After a small amount of haggling Mr Chandelier went and collected the unit and drawers from the most delightful lady called Michelle, who even sent me a text the next day thanking me for my purchase and a message stating she hoped I enjoyed my wardrobe – how sweet is that!

Anyway, after mumbling something about me “taking over yet another room in the house” Mr Chandelier very kindly put up my new wardrobe very quickly and adapted the bottom 2 drawers for me which had to be drilled and ‘faffed’ with, as the hinge brackets were in the way. He then handed me the drill and screwdriver and said he would come back in 10 minutes as I should be finished by then – yeah right! I put them all in and then realised that I had to do it all again because, although the bottom hinges could be worked round, the higher ones couldn’t. So I took them all out again, re drilled new holes and reconfigured it to try to use every inch of space but those pesky hinges were causing me grief. The problem was that Ikea has changed the hinge positioning on the new doors but I did of course have the old wardrobe shell. By this time Sunday was well and truly over and I had come to the most annoying conclusion that if I swapped my new door with one of the old ones – where the drawer positioning isn’t so crucial – then I could literally use every single inch of space – which I so needed as I was never going to fit it all in anyway – Mr C really loved that idea – NOT!
I managed to persuade him to change them over and I did of course, much to Mr Chandeliers total and utter disbelief, take the whole lot out the next day and re-drill and reconfigure the lot – finally I was winning – or so I thought – Hmmm.
It then took me a good week or two to actually sort out and transfer all that fabric and I decided to try to be as ruthless with my fabric as I am being with the rest of the house, not an easy task. I don’t think Mr Chandelier could actually believe a) the chaos and b) the time it took. I think he thought he might be hallucinating!

Whilst this was going on, Baby Chandelier set up the ‘Maileg Team’ to keep a watchful eye on progress whilst having a picnic on my bed.
However, I have just about managed to shoehorn in – and I really do mean shoehorn in – all the beautiful fabrics I want to keep and frankly they just make me want to randomly snatch them and run into my studio to create something – I just love it. Having lived in such chaos for so many years, the feeling I have is indescribable to finally have such beautiful order. It really will revolutionise my creative life.

I can really see all my fabric stock (well most of it anyway) and it will make my life a lot easier, particularly when I am in a hurry or am wanting a particular print that I know I have. Perhaps best not tell Mr C about the fur department, oilcloth dept, vintage linens dept, tulle and netting dept, organza dept, felt dept, denim dept (I know!), shimmery dept and a sneaky little Peony and Sage, Kate Forman, Susie Watson faded, vintagey kind of style dept which I still need to house within Narnia! What he can’t fail to miss though, as it is as tall as me – honestly it really is – is that massive pile of fabric that I am getting rid of – it should only take me a couple of years to put on eBay, nooooo.
The moral of this story – Patience with a capital P – although I expect Mr C thinks a straight jacket would be somewhat more appropriate!
Now go sort your fabric out and ‘show and tell’ me how you’ve stored yours.
Happy sorting.
Much Love,
Sarah xx

Fabulous!
LikeLike
Great organizational ideas…I really need to do mine too.
LikeLike
Hi mulchandmorecrafts! The problem is with reorganising or creating storage is that it takes a phenomenal amount of time – which most of us rarely have! There are lots more craft storage posts to come, thanks for following, Sarah x
LikeLike